Reformatting a USB drive on your Mac is an easy task that can help you resolve issues, clear out unwanted data, or simply prepare the drive for use with another system. Whether you're looking to erase files or make the drive compatible with both Mac and Windows, this guide will walk you through the process of how to reformat a USB on a Mac.
What Is Reformatting a USB Drive?
Reformatting a USB drive means erasing its contents and setting it up with a new file system. This process is useful for:
- Fixing corrupted or damaged files
- Preparing the drive for use with another operating system
- Clearing data for a fresh start
Reformatting is quick and easy, but make sure to back up anything important before starting—once the format is complete, the data is gone!
How to Reformat a USB Drive on Mac: Step-by-Step Instructions
Let’s go over the steps to safely reformat your USB drive on your Mac. Don’t worry; it’s pretty simple!
Preparing Your USB Drive
Before you start, make sure your USB drive is securely plugged into your Mac. If it’s not showing up, try another USB port. If it’s a new drive or one you haven’t used before, it should show up right away.
- Plug the USB drive into your Mac.
- Make sure to back up any files you need from the drive. Reformatting will erase everything on it, so be prepared.
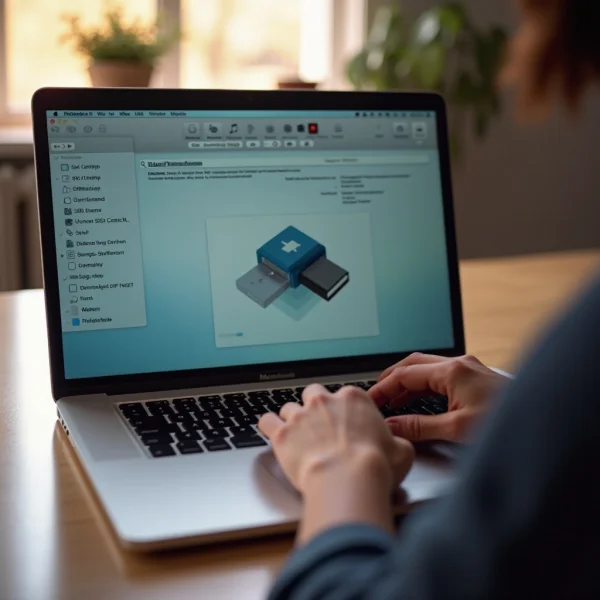
Opening Disk Utility on Your Mac
The Disk Utility app is the tool you’ll use to format your USB drive. Here’s how to open it:
- Go to Applications > Utilities.
- Open Disk Utility from the list.
You can also just hit Cmd + Space and type “Disk Utility” to open it quickly.
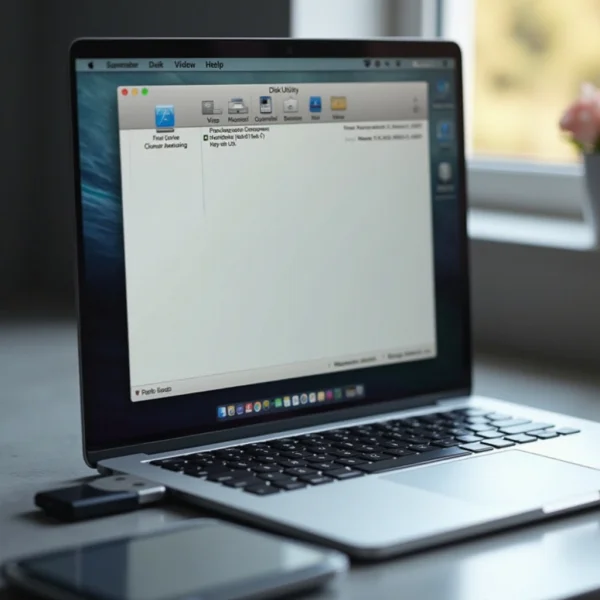
Selecting the Correct USB Drive (Show All Devices)
Once Disk Utility is open, you'll see a list of connected drives. To make sure you select the correct one, follow these steps:
- In Disk Utility, click View and select Show All Devices.
- Your USB drive should now appear. Be sure you pick the right one—if you choose the wrong drive, you could lose data.
Choosing the Right File System and Partition Scheme
Now, it’s time to pick the file system for your USB. This step is important because it determines how your Mac and other devices will interact with the drive. Here’s what each option means:
- APFS: Best for newer Macs (macOS 10.13 or later). Ideal for SSDs and high-performance needs.
- macOS Extended (Journaled): Great for older Macs. It’s reliable but doesn’t have the newer performance features.
- exFAT: If you want your USB to work on both Macs and Windows, exFAT is the best choice.
- FAT32: Good for smaller drives, but it’s limited to files under 4GB.
You also need to choose a partition scheme:
- GUID Partition Map: Recommended for newer Macs. It’s the best choice for most modern users.
- Master Boot Record (MBR): Use this for older devices or if you need compatibility with Windows PCs.
Erasing and Reformatting the USB Drive
Here’s the most important part: erasing the data and reformatting the drive.
- Select the USB drive in Disk Utility.
- Click the Erase button at the top.
- Choose a name for your drive, select the appropriate file system, and click Erase again.
Wait for the process to finish—it should only take a few minutes.
Safely Ejecting the USB After Formatting
Once your USB is formatted, make sure to eject it safely to avoid any issues:
- In Disk Utility, click the Eject button next to the USB drive.
- Or, drag the USB icon to the Trash (which will turn into an Eject symbol).
- Wait for the drive to disappear from your desktop or Finder before unplugging it.
Best File Systems for USB Drives on Mac
The file system you choose depends on how you plan to use the USB drive. Let’s break down the most common options:
APFS
APFS (Apple File System) is the best choice for newer macOS devices:
- It’s fast and efficient, especially with SSDs.
- It offers improved encryption and security features.
- It’s perfect for macOS-specific use.
macOS Extended (Journaled)
macOS Extended is the older file system, but it still works well for many users:
- Ideal for macOS versions before 10.13.
- It supports Time Machine backups.
- It’s less efficient than APFS but is still a solid option for older systems.
exFAT
exFAT is your go-to choice for compatibility across both Mac and Windows:
- It supports large files (over 4GB).
- It works on both macOS and Windows, making it ideal for cross-platform use.
FAT32
FAT32 is an older file system with some limitations:
- It’s compatible with both Mac and Windows.
- It’s limited to 4GB files, which isn’t great for large media files.
Common Issues and Troubleshooting
While the formatting process is usually smooth, you might run into a few issues. Here’s how to solve some common problems:
USB Drive Not Showing Up in Disk Utility
If your USB drive isn’t showing up, try these steps:
- Reconnect the USB drive to a different port.
- Restart your Mac.
- Test the drive on another computer to see if it’s working.
If it still doesn’t show up, the USB drive might be faulty.
Formatting Errors and Permission Issues
If you see an error while formatting, it could be a permissions issue:
- Right-click on the drive and check the permissions in Finder.
- Make sure the drive isn’t in use by another app or process.
- Try quitting any apps that might be accessing the drive.
If this doesn’t fix it, you might need to repair the disk using First Aid in Disk Utility.
Fixing a Corrupted or Unreadable USB Drive
If the USB drive is corrupted and unreadable, you can try to fix it using Disk Utility:
- Open Disk Utility.
- Select your drive and click First Aid to check for and repair any issues.
If this doesn’t work, the drive may be beyond repair, and you might need to replace it.
Pro Tips for USB Formatting on Mac
Here are a few pro tips to help you get the most out of your USB drive:
- Always back up your data before formatting the drive. Once it’s erased, you can’t get it back!
- If you plan to use the USB on both Mac and Windows, go for exFAT.
- If you’re formatting an SSD, use APFS for the best performance.
Conclusion
Reformatting a USB drive on your Mac is a simple and useful process. Whether you’re fixing errors, cleaning up the drive, or making it compatible with different systems, following these steps will help you get the job done. Just be sure to back up your data before you start, and choose the right file system for your needs. Now, you can confidently manage your USB drive and make it work the way you need!